
Did you know you can create cool picture-reveal animations inside Microsoft Excel?
Once you understand the basics of cell-by-cell animation, taking it to the next level by revealing actual pixel art makes programming ten times more exciting!
In this tutorial, we will build an animation where a horse illustration dynamically emerges from the top-left to the bottom-right of the sheet, followed by animated text. The algorithm behind it is surprisingly straightforward. Let’s get started!
Step 1: Prepare a Square Grid (Grid Paper Style)
When drawing pixel art in Excel, having square cells (equal width and height) makes tracing and rendering much easier.
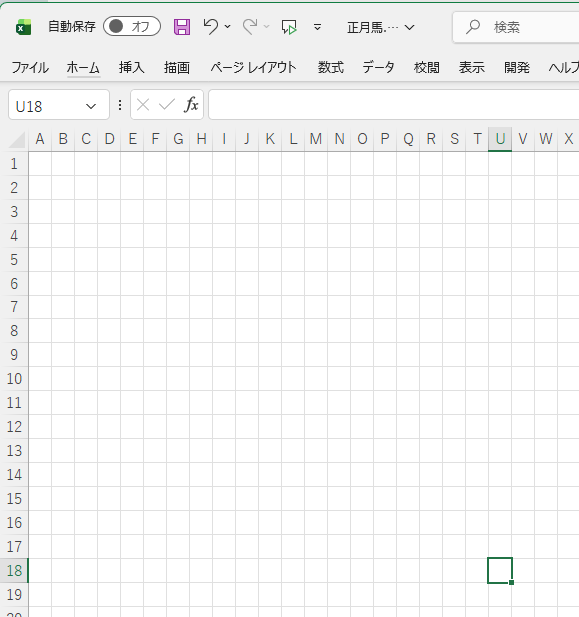
- Select multiple columns (e.g., A through AX) and drag one column boundary to shrink them all at once.
- Adjust row heights similarly until your sheet looks like grid paper.
Step 2: Paste Your Target Image onto the Worksheet
Choose any picture or illustration you like!
- Open your image in MS Paint (or any image editor) and copy the entire image to your clipboard.
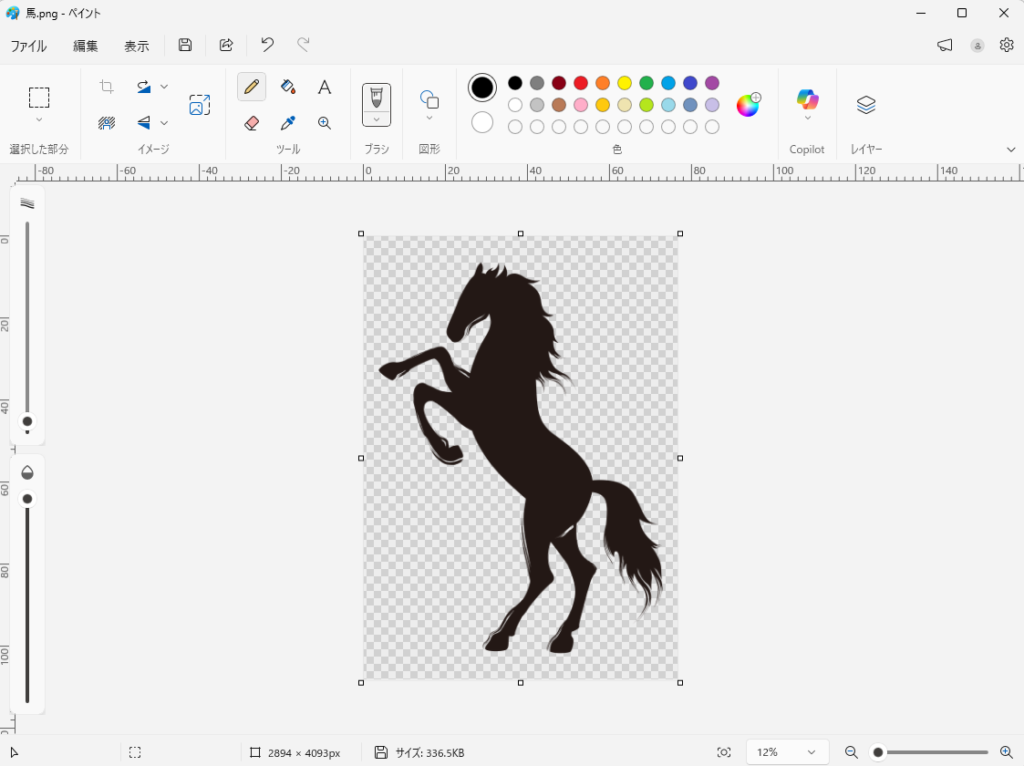
- Switch to Excel and press
Ctrl+Vto paste the image directly onto your worksheet.
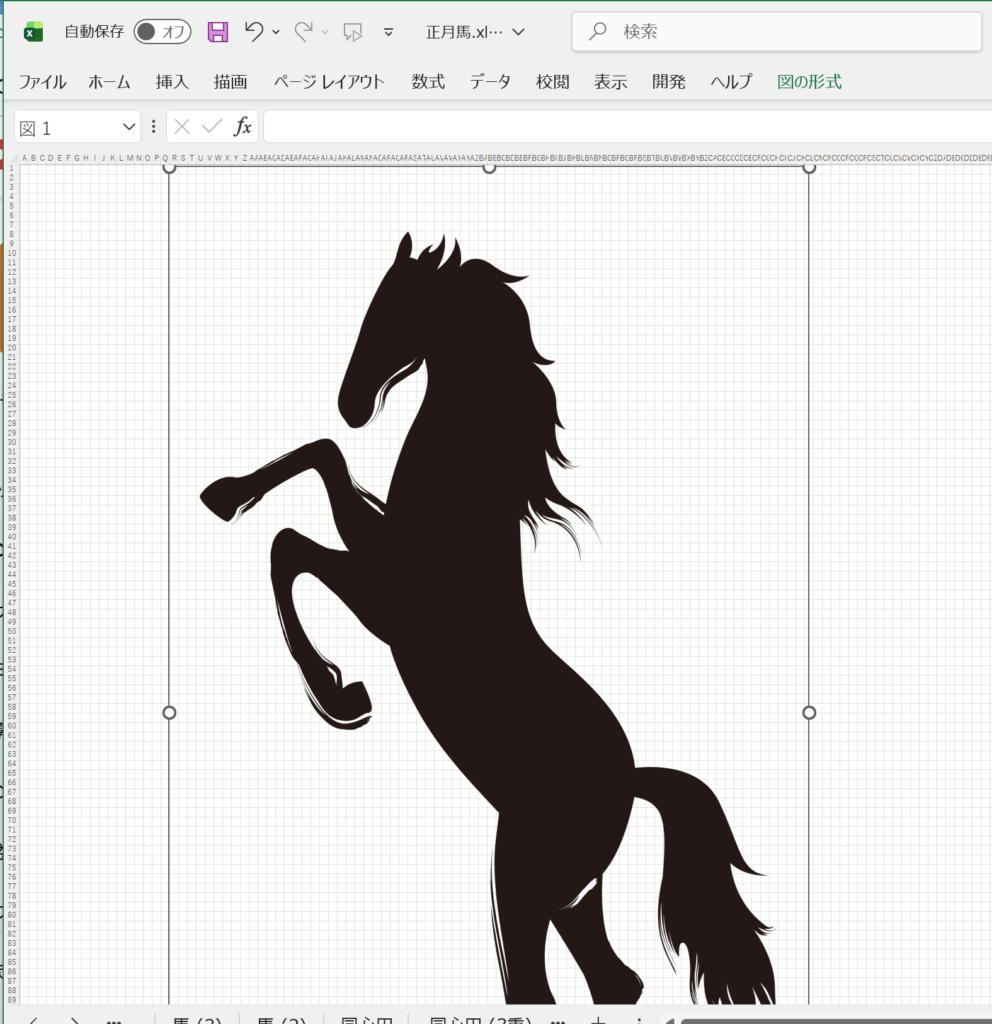
Step 3: Trace the Image & Fill Cells
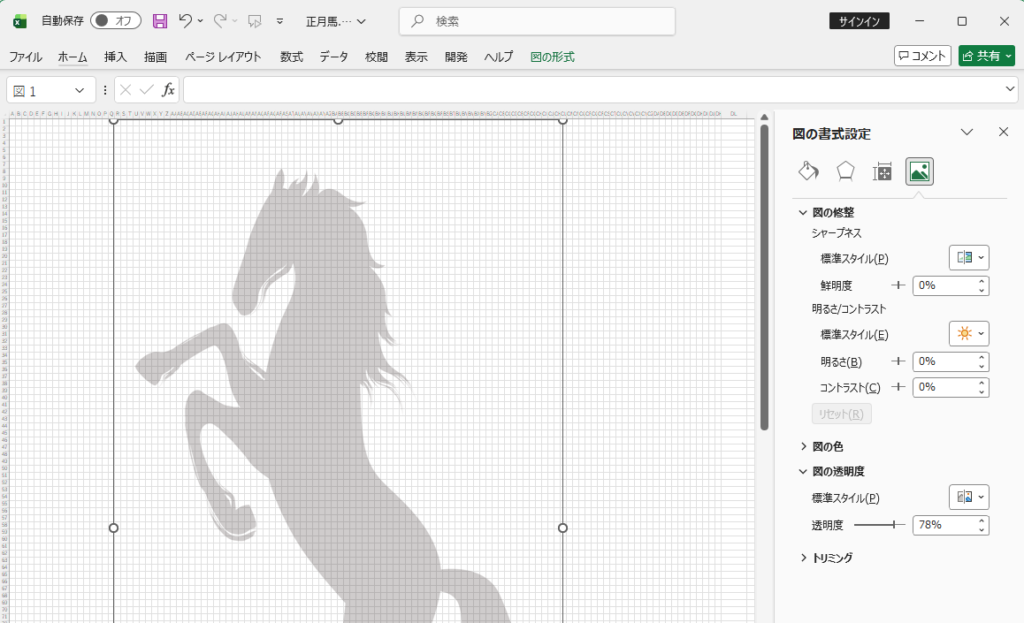
Think of this like placing tracing paper over an image. By adjusting the image transparency, we can easily see the underlying Excel grid lines to fill in the cells.
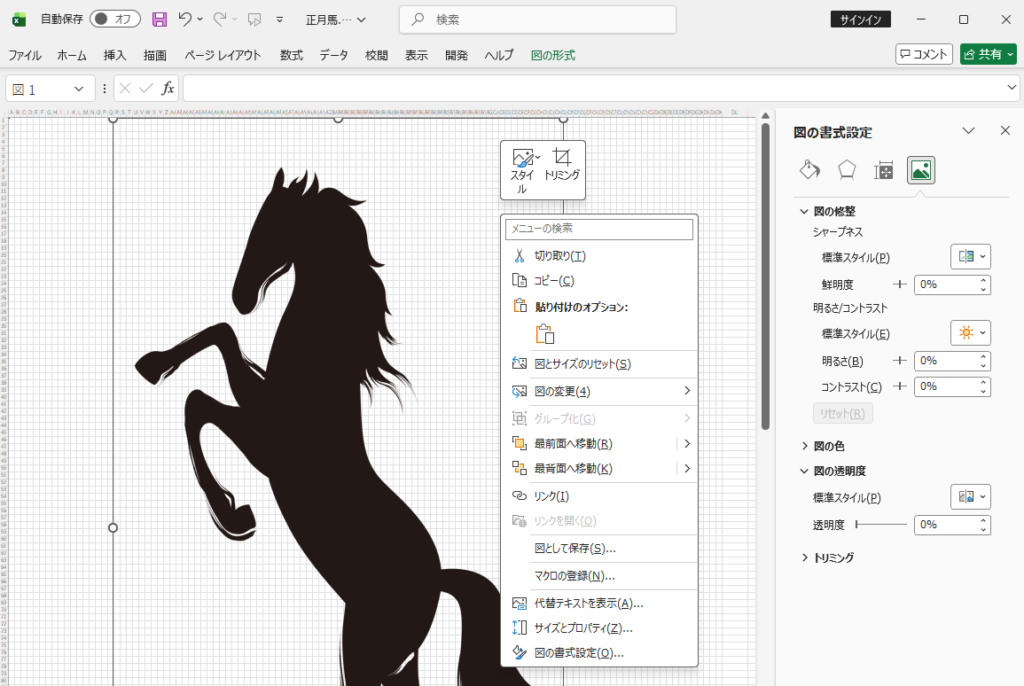
- Right-click the pasted image and select [Format Picture…].
- In the right-side pane, click the Picture icon
 and expand [Picture Transparency].
 - Move the slider
 to around 70% – 80% to make the image semi-transparent.
 - Fill the cells matching the outline of the image with black (or your chosen color).
💡 Quick Navigation:
Instead of clicking every cell with a mouse, use arrow keys with
Ctrl+CandCtrl+Vto quickly copy-paste colored cell blocks.
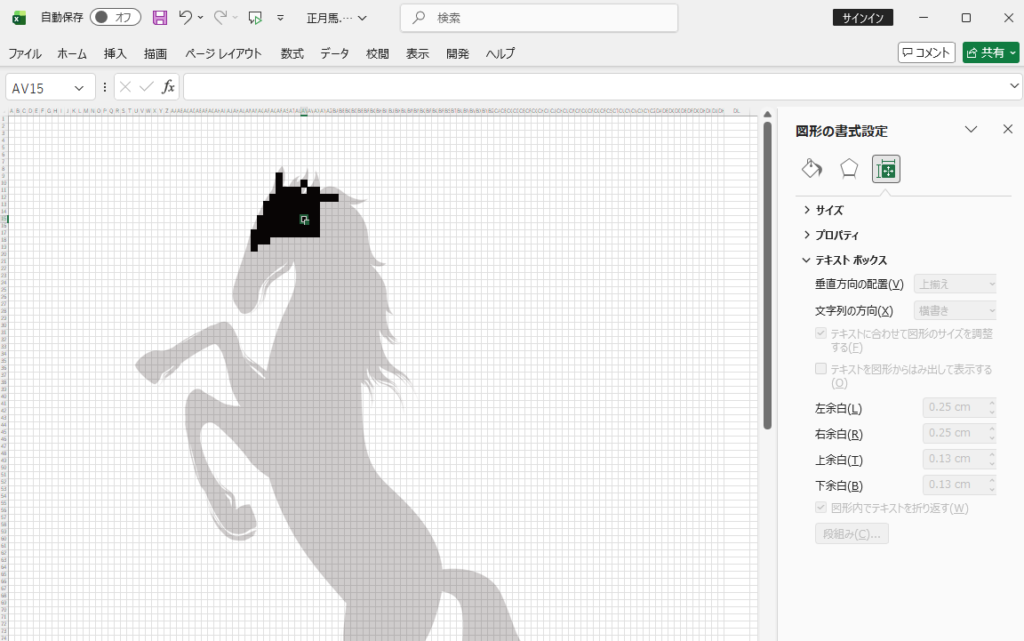
This is how it turned out!
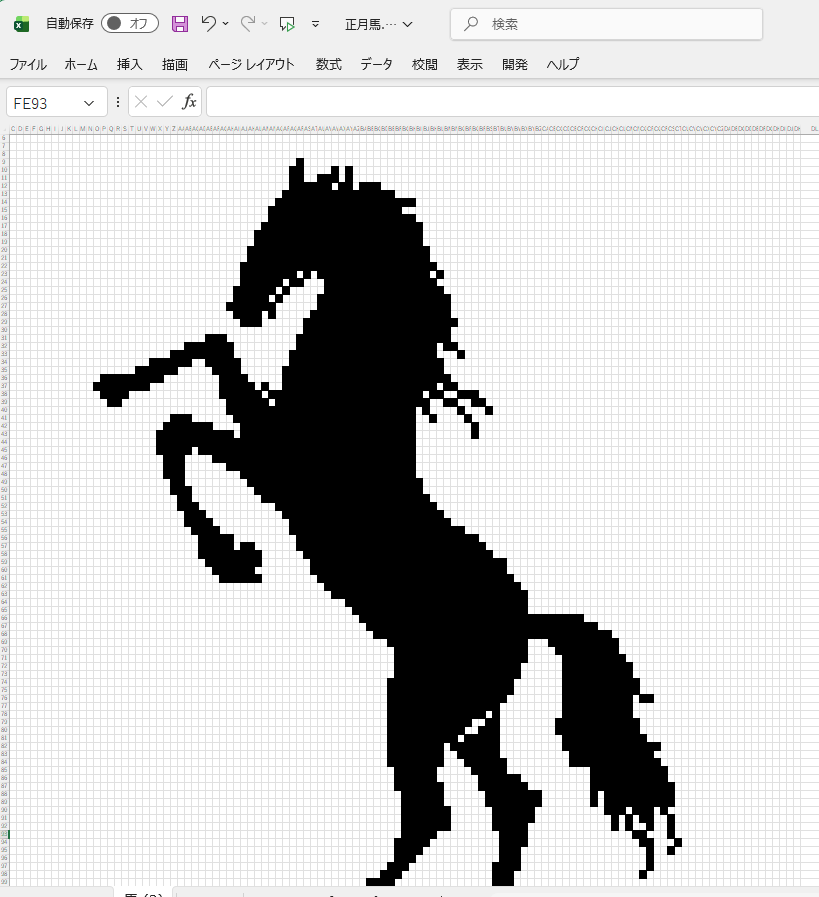
It’s best to zoom in when working on the finer details. Also, curves will naturally look a bit jagged if the cell size is too big, so it’s a good idea to choose a size based on how much detail you want to achieve.
Step 4: Batch-Insert “1” into All Colored Cells
Now, we need to mark our colored cells so the VBA code can identify where to paint during the animation. Instead of typing “1” manually into thousands of cells, we use Excel’s Find and Replace tool.
(Tip: Save a backup copy of your file before proceeding!)
- Press
Ctrl+Hto open the [Find and Replace] dialog.
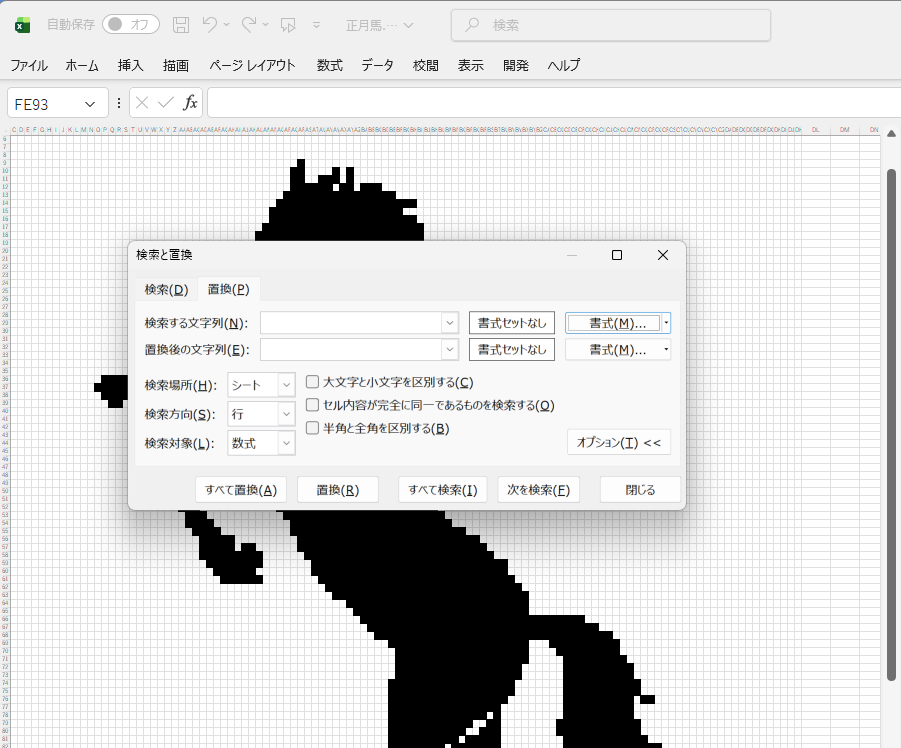
- Click [Options >>] to expand the window.
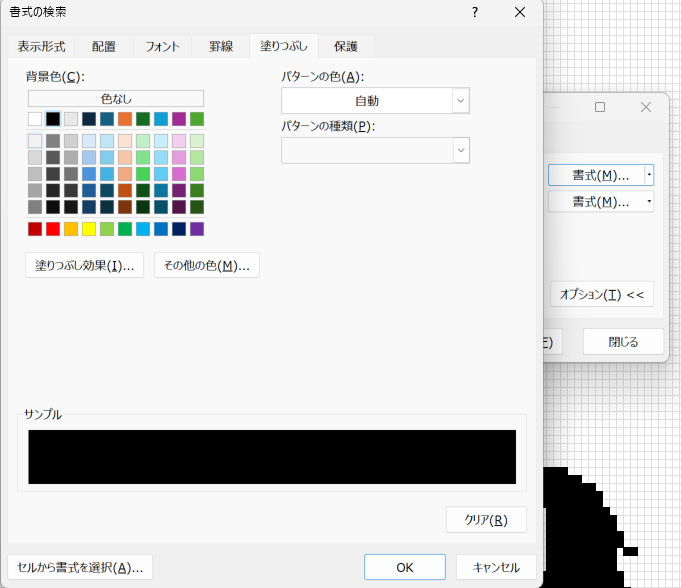
- Go to the [Fill] tab, select Black (or the color you used), and click [OK].
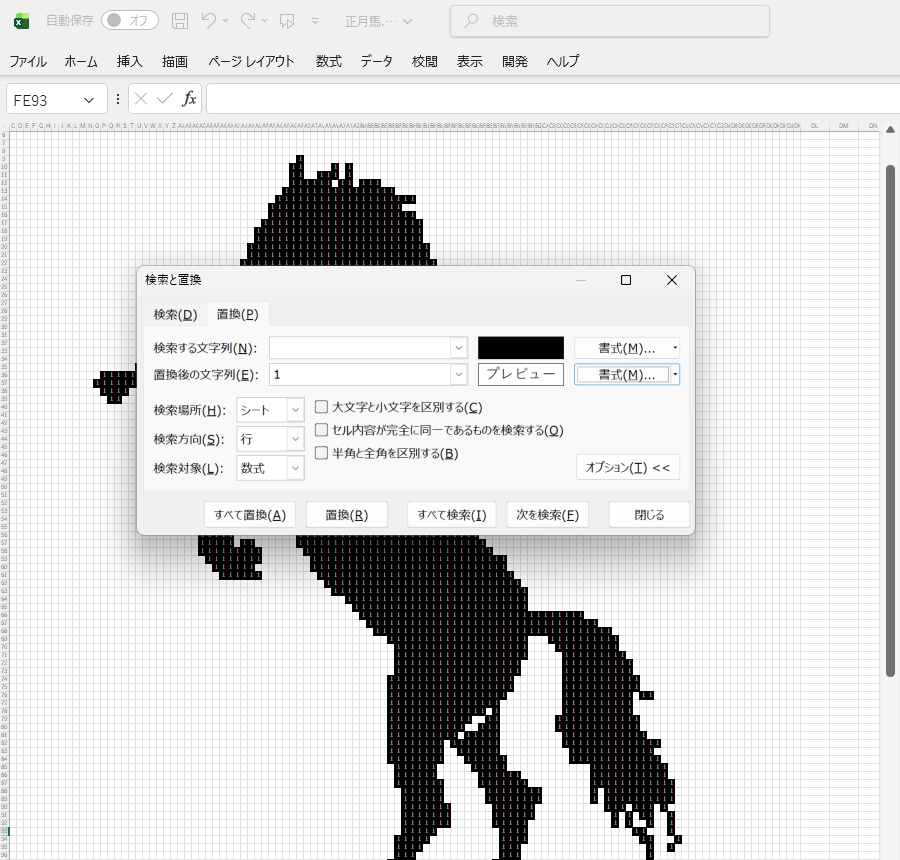
- In the “Replace with” box, type
1. Click [Format…] next to it, choose No Color, and click [OK]. - Click [Replace All].
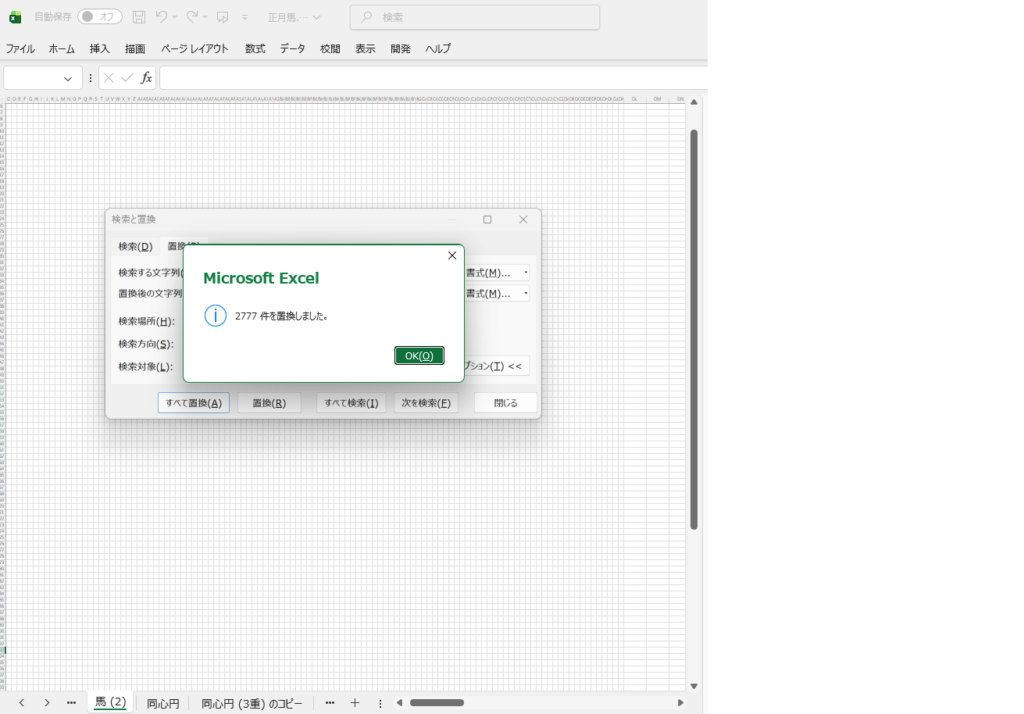
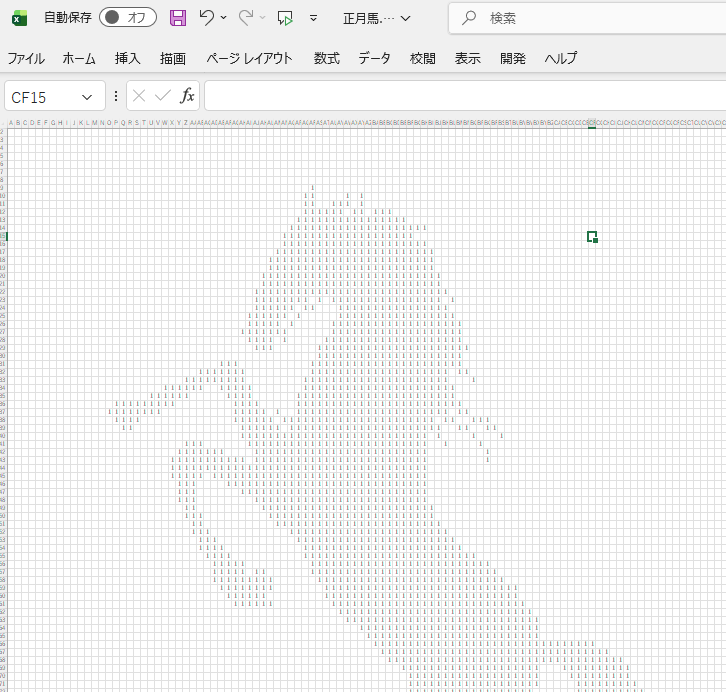
All black cells will instantly be converted into clean cells containing the number 1!
Step 5: Paste the VBA Code
Now let’s add the magic code!
- Open the VBE editor (
Alt+F11). - Click [Insert] > [Module].
- Paste the following VBA code into the module window:
Sub HorseAnimation()
    ' === Configuration Area (Modify to change behavior) ===
    Dim max_size As Integer: max_size = 110 ' Grid scan range
    Dim wait_seconds As Double: wait_seconds = 0.1 ' Delay in seconds (e.g., 0.05, 0.1)
    Dim target_color As Long: target_color = RGB(0, 0, 0) ' Fill color (Black)
    Dim i As Integer, j As Integer

    ' Force screen refresh
    Application.ScreenUpdating = True

    ' === Main Loop: Diagonal reveal moving towards bottom-right ===
    For i = 1 To max_size
        ' 1. Check the diagonal cell
        If Cells(i, i).Value = 1 Then
            Cells(i, i).Interior.Color = target_color
            Cells(i, i).Font.Color = target_color
        End If

        ' 2. Simultaneously scan cells above and to the left of (i, i)
        For j = 1 To (i - 1)
            ' Scan upward
            If Cells(i - j, i).Value = 1 Then
                With Cells(i - j, i)
                    .Interior.Color = target_color
                    .Font.Color = target_color
                End With
            End If

            ' Scan leftward
            If Cells(i, i - j).Value = 1 Then
                With Cells(i, i - j)
                    .Interior.Color = target_color
                    .Font.Color = target_color
                End With
            End If
        Next j

        ' 3. Refresh display & pause for animation timing
        DoEvents
        Application.Wait Now + (wait_seconds / 86400#)
    Next i

    MsgBox "Animation Complete!"
End Sub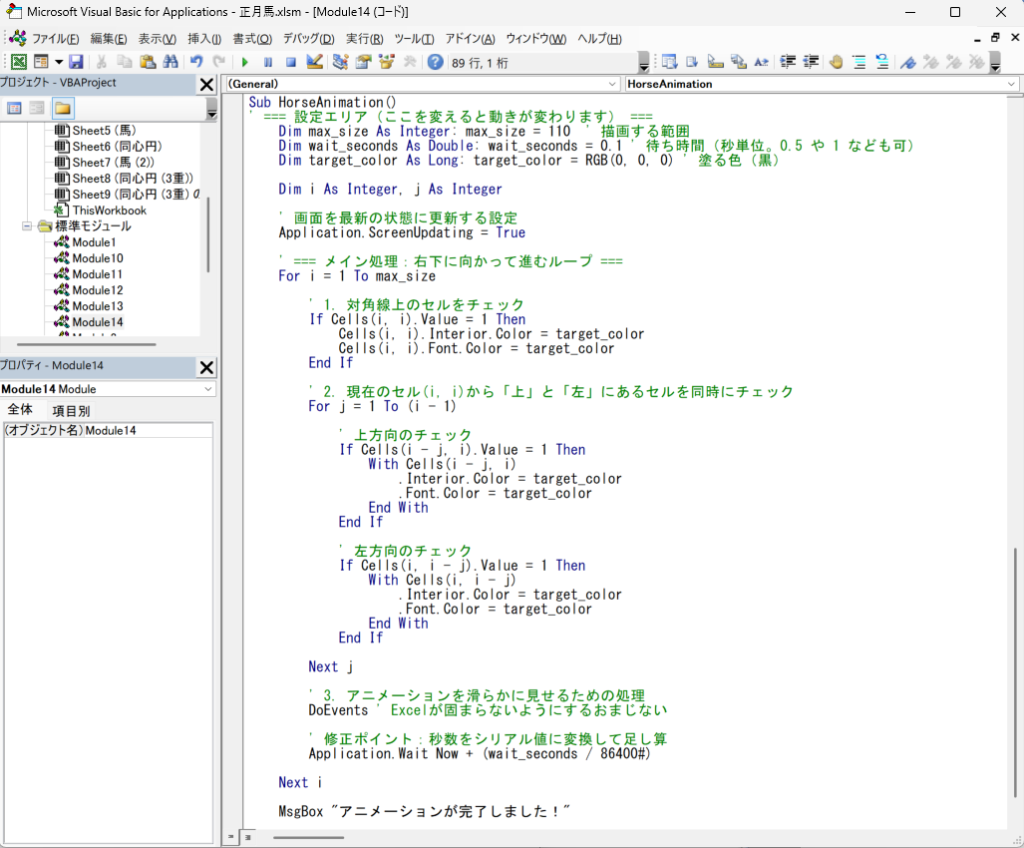
Step 6: Run the Animation!
- Align your Excel sheet and VBE editor side-by-side.
- Click inside
Sub HorseAnimation()in VBE. - Click the
▶(Run) button or pressF5.
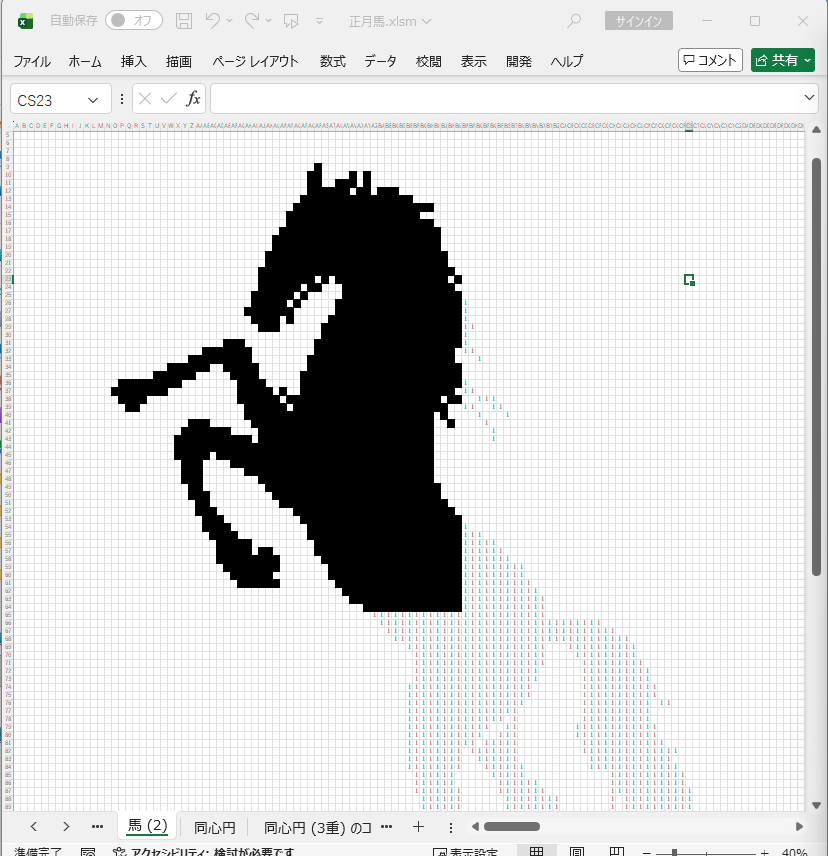
Watch as your picture smoothly renders diagonal line by diagonal line across the grid!
Step 7: Hide the Cell Numbers for the “Magic Reveal” Effect
To make the animation look like it appears out of thin air on a blank white sheet:
- Select all cells (
Ctrl+A). - Change the font color to White.
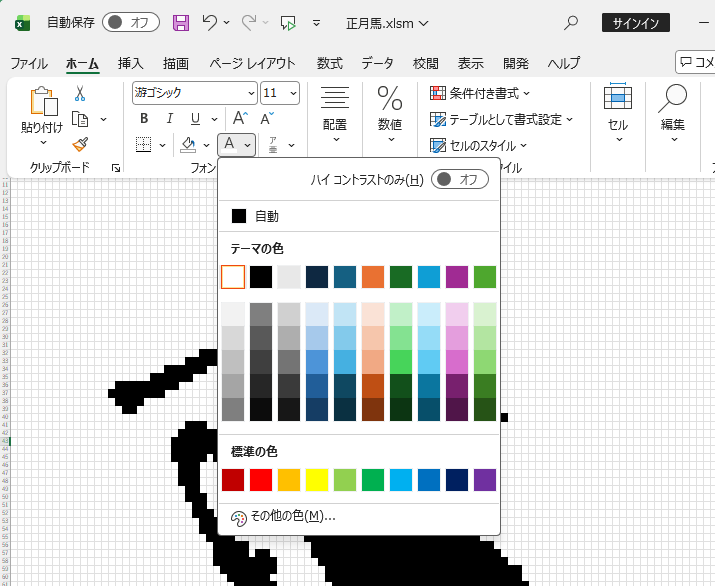
The numbers 1 will become completely invisible against the white sheet. When the code runs, it sets both Interior.Color and Font.Color to black at the same time, revealing the dark pixel art seamlessly!
コメント